Interior lighting in Blender: from a dark room to a bright one
Almost every first interior in Blender comes out dark, grey and noisy. Nothing is broken. Daylight gets in through one small opening, and a render engine doesn't adapt to the dark the way your eyes do. Here's the order we fix it in, with the same test room before and after.
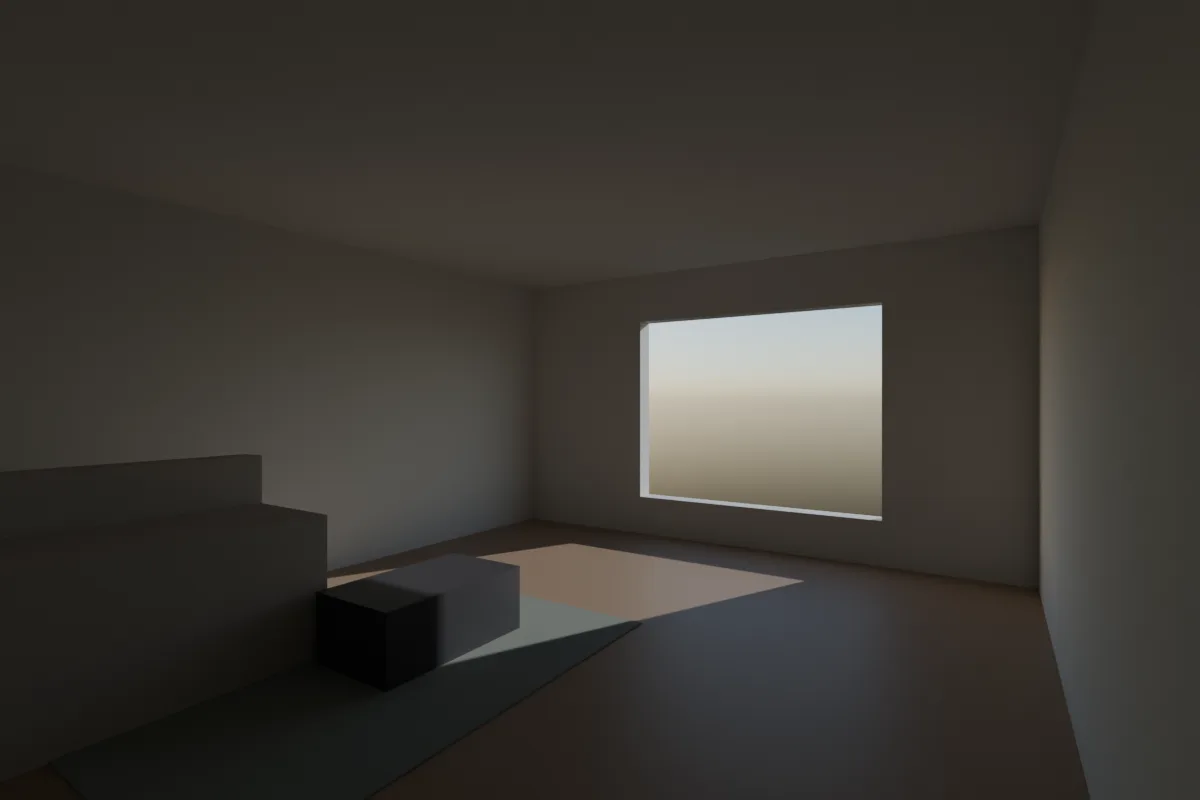
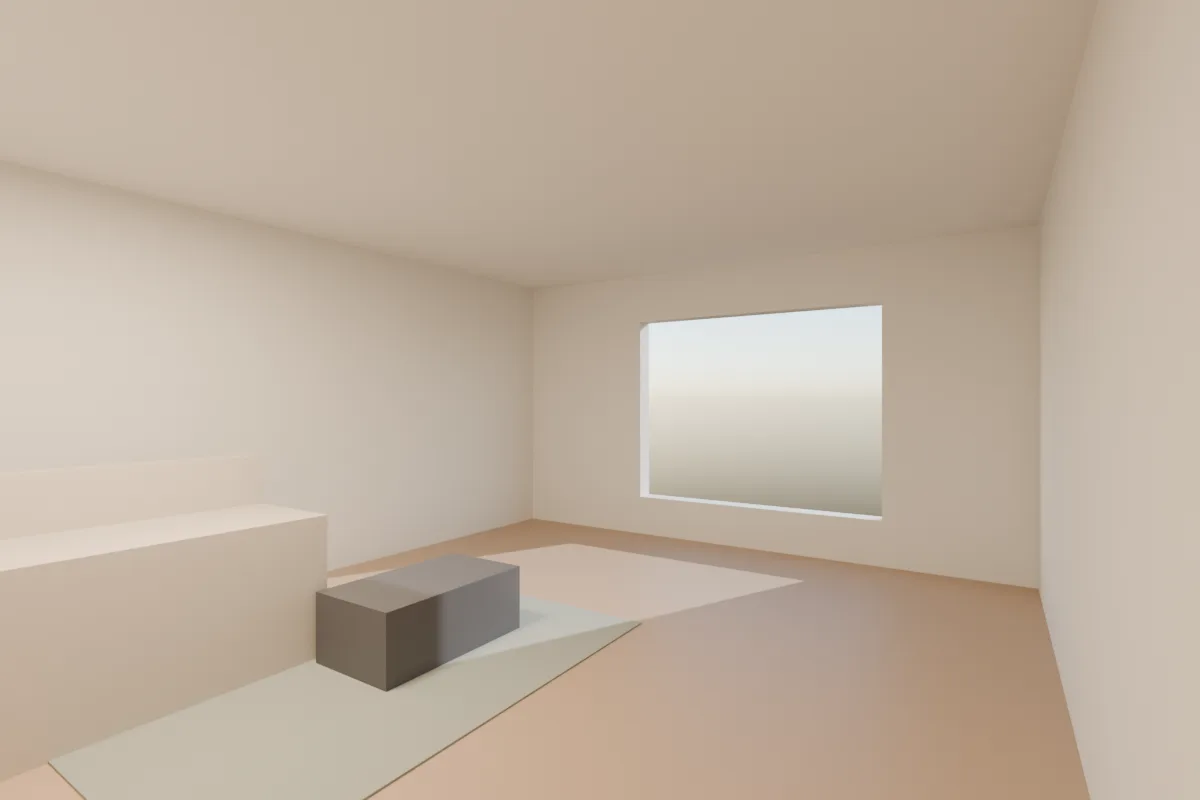
Our own test scene in Blender 4.5, Cycles, 128 samples with denoising, AgX. A Sun light at strength 3 with the sky at 0.25 strength and exposure 0, then the same scene with steps 2, 3 and 5 applied. Same camera, same sun.
1. Get daylight into the World
- In the World properties, set Color to a Sky Texture. In Blender 4.2 to 4.5 the physical sky type is Nishita. In 5.x pick Multiple Scattering, the most accurate. Single Scattering is the old Nishita, now marked legacy.
- Point the sun at the window. In Cycles you can use the sky's own sun (Sun Disc on, set Sun Elevation and Sun Rotation). Sun Disc lighting is Cycles only, so for EEVEE, or if you prefer, turn it off and add a Sun light. Don't use both, or you get two suns.
- An HDRI works just as well. Use an Environment Texture instead of the Sky Texture and rotate it with a Mapping node until the sun comes in where you want it.
A low sun that throws a patch of light across the floor reads as daylight at a glance. In our room the sun is 25° up.
2. Raise the exposure instead of the lights
Go to Render Properties > Color Management. Leave View Transform on AgX (the default since Blender 4.0). It handles a bright window more gently than Standard while you brighten the room. Then raise Exposure. It works in stops, so +1 doubles the brightness. Our room needed +1.5.
That's what a photographer does indoors: open up the camera and accept that the window goes bright. Cranking the sun strength instead burns the sunlit patch long before the corners look right.
3. Cycles: add a portal in each window
- Add an Area light, set Shape to Rectangle, and size it to the window opening.
- Place it in the opening, facing into the room.
- In the light's properties, tick Portal.
A portal adds no light. It tells Cycles where the sky can be seen from inside, so it samples the window instead of the whole sky. The Blender manual says it can significantly reduce noise in interiors, and that each sample is slower but you need fewer of them. It only helps where light comes in through openings, so skip it for exteriors.
4. Cycles: bounces, clamping and denoising
Most of the light in a room has bounced off a wall at least once. In Render Properties > Light Paths > Max Bounces, the defaults are Total 12, Diffuse 4 and Glossy 4. If the far corners stay murky, try Diffuse at 6 to 8 and compare. Each extra bounce adds a little light and some render time.
- Clamping > Indirect Light is 10 by default. Lower it if bright white dots (fireflies) appear, at the cost of some indirect light.
- Denoise is on by default under Sampling. Keep it on. At low sample counts interiors look blotchy rather than grainy, which means it needs more samples, not more denoising.
5. Add the lights a real room would have
Daylight alone rarely lights a whole room, and real interiors aren't lit that way either. Add ceiling lights as Area lights and table or floor lamps as Point lights inside the shade. The manual gives starting values: an 800 lm LED bulb is about 2.1 W as a point light and a 2,500 lm fluorescent tube about 4.5 W as a rectangular area light.
Make them warm. In Blender 4.5 and later a light can take a colour Temperature in Kelvin, and 2,700 to 3,000 K looks like a home. On 4.2, pick a warm orange-white colour by hand. Warm lamps against cool daylight make a room read as lived in. Our test room has one warm area light above the sofa.
EEVEE (Blender 4.2 and later)
- In Render Properties, tick Raytracing and keep Method on Screen-Trace.
- Under Fast GI Approximation, check that Method is Global Illumination, so diffuse light bounces between nearby surfaces.
- Add a Light Probe > Volume, scale it to fill the room, and bake it from its Object Data properties. Until it's baked, objects take their indirect light from the World, which is what makes an EEVEE room look flat or leaky.
- Exposure and lamps work the same as in Cycles. Use a Sun light rather than the Sun Disc. Portals are Cycles only.
Common problems
- The window is a black rectangle. Usually the glass. In Cycles a glass pane casts a shadow, so sunlight stops at the window. See window glass that lets the sun in.
- The window is pure white. That's normal at an interior exposure. AgX already softens it. If you need the view outside, render a second pass at lower exposure and combine them in the compositor.
- Light leaks along wall edges. Give walls real thickness and make floor, walls and ceiling overlap at the corners.
Or render it in one click
When the client needs a mood image tonight and the lighting setup can wait, Partilock, the Blender add-on we build (macOS), sends the camera view to an AI image model and returns the image in about a minute. A real 2K render, unretouched:
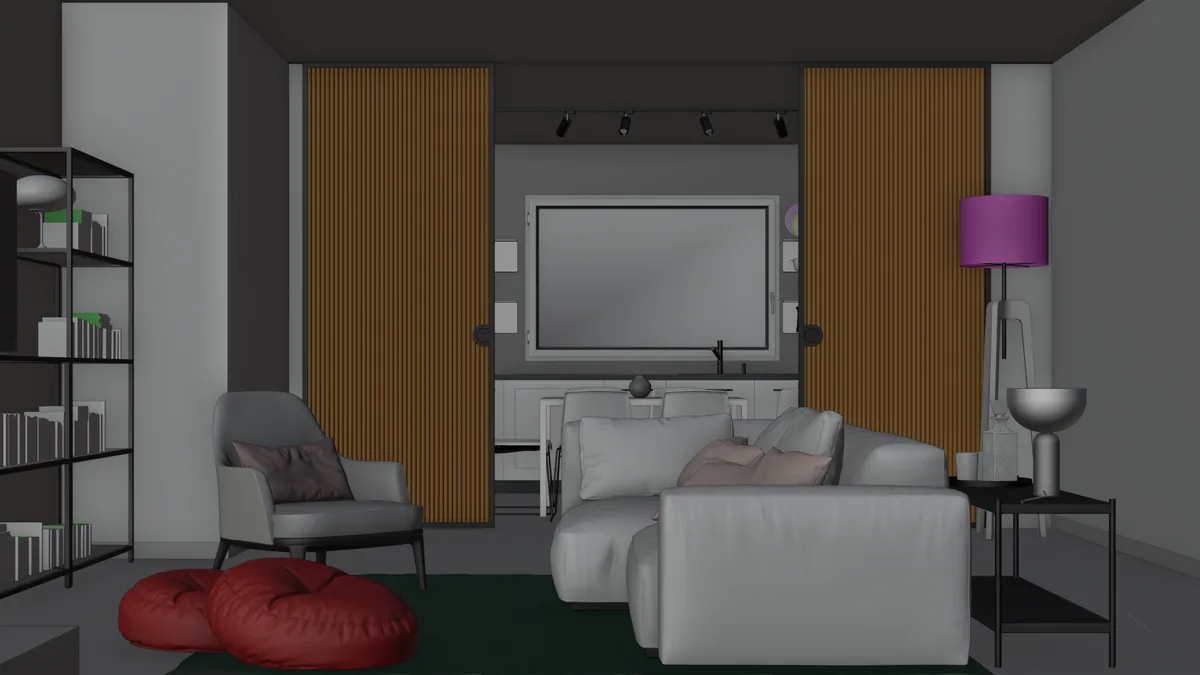
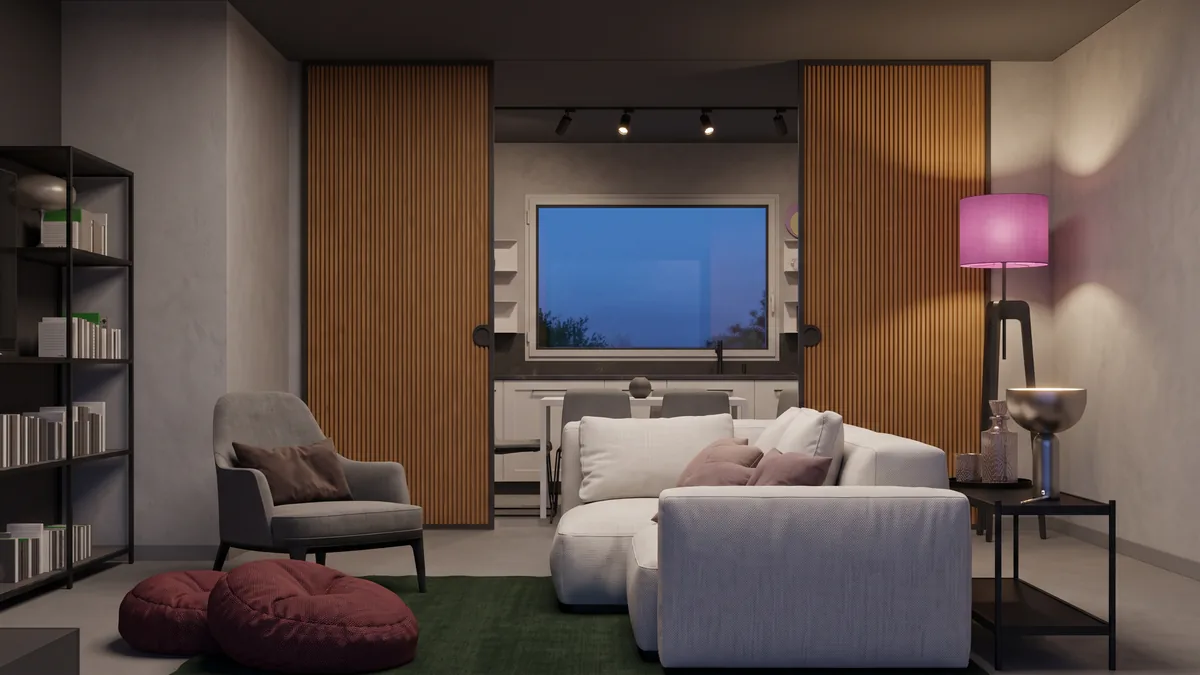
This model was already furnished in the viewport. The render relit it for dusk, with the lamps on and blue light in the window, and kept the layout and camera.
It's an image, not geometry, and it can add small fittings, so check it before a client sees it. 2 free renders to try (1K, watermarked), then 2K from $9 for 18. Install guide, pricing.