Dusk and night lighting for exteriors in Blender
The blue-hour shot is the one that sells a house: a deep blue sky, the last orange at the horizon, and warm light in every window. In Blender it comes down to three things: a sky with the sun just below the horizon, more exposure, and light inside the building.
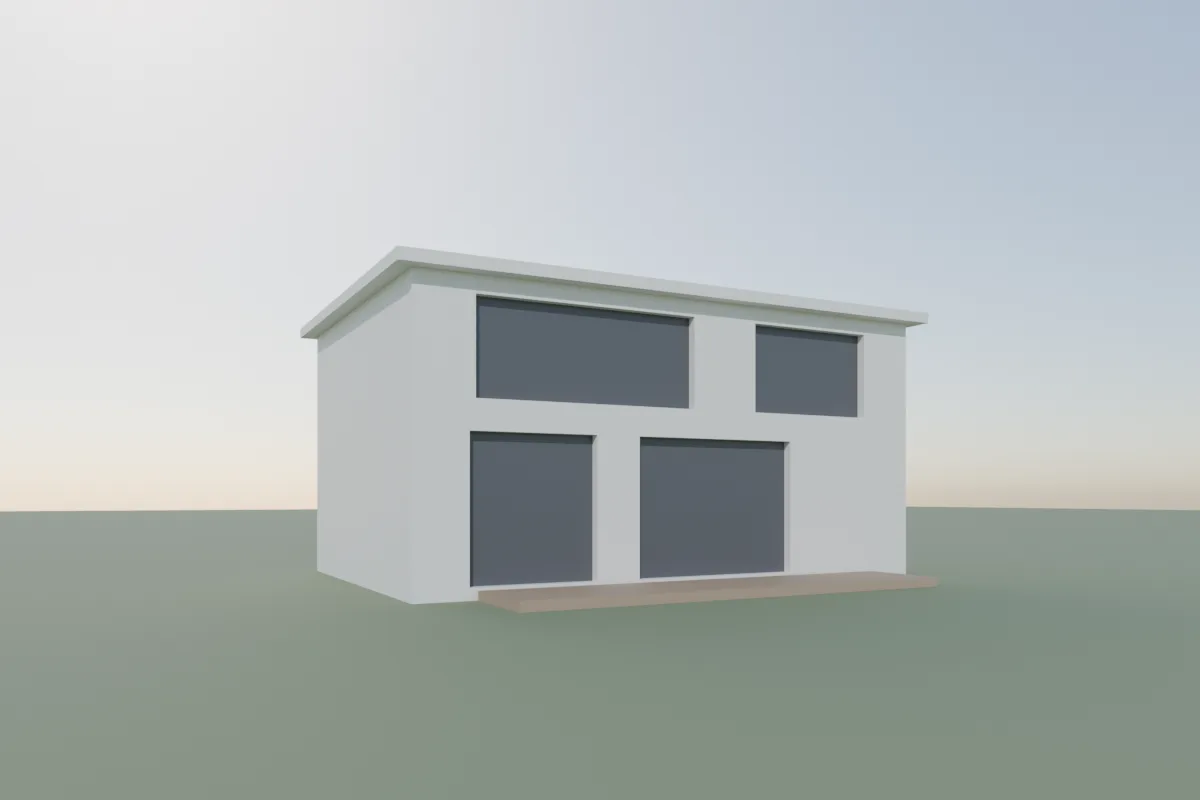
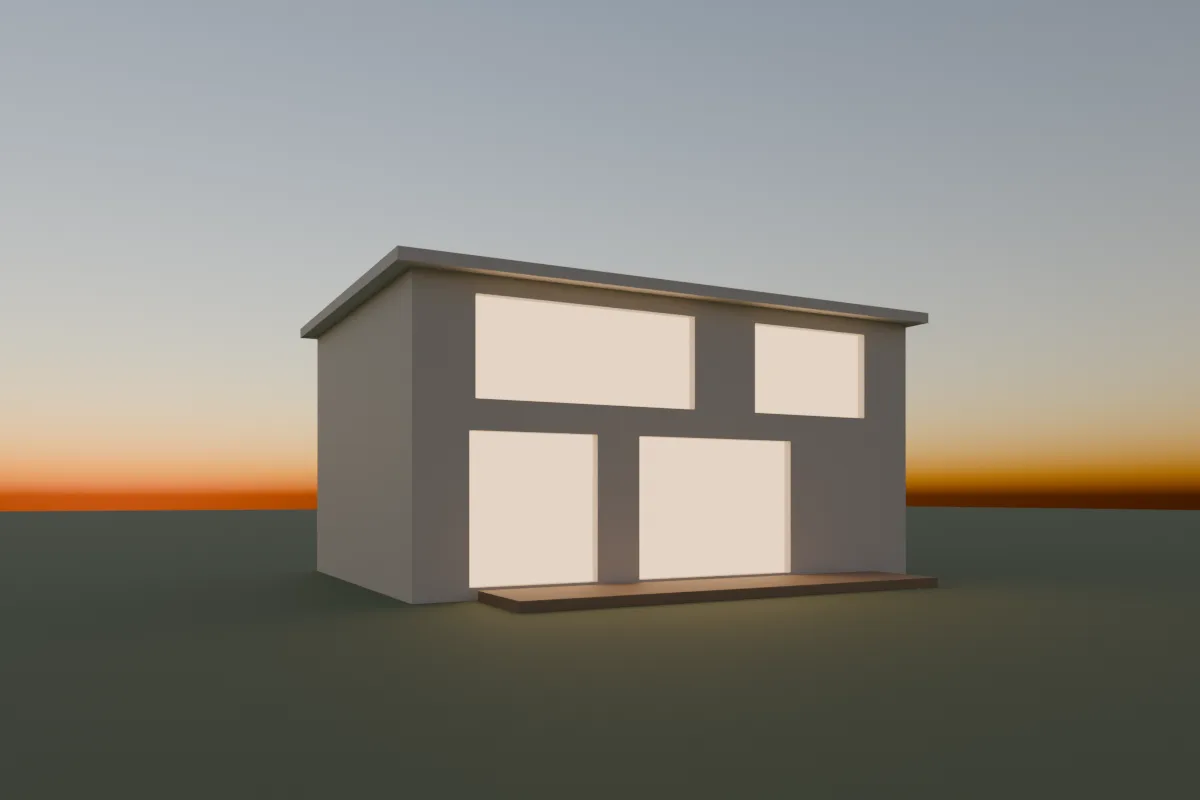
Our own test scene in Blender 4.5, Cycles. Same model and camera. The dusk version has no Sun light, just the sky and emissive planes behind the windows.
1. A sky after sunset
- In the World, use a Sky Texture: Nishita in 4.2 to 4.5, Multiple Scattering in 5.x.
- Set Sun Elevation between about 0° and -4°. Just below the horizon gives the orange band and blue sky above. Lower is darker and bluer. Our test used -2° on Nishita in 4.5. On 5.x, check the result by eye, as the new sky model may look different at the same angle.
- Turn Sun Disc off and delete any Sun light. At dusk there's no direct sun, and soft shadowless light is the point.
- Point Sun Rotation so the glow sits behind or beside the building, not behind the camera.
A dusk HDRI works too, and it adds real clouds. Poly Haven has free ones.
2. Raise the exposure
A dusk sky is far dimmer than a day sky. Raise Color Management > Exposure until the facade is readable but the sky stays a deep blue. Our scene needed +1. Keep AgX so the lit windows don't clip to white.
3. Light inside the building
Lit windows make the image. Two ways to do it:
- Quick: a plane a little behind each window with an Emission shader, warm in colour. It glows but lights little around it, so it suits distant shots. Ours used strength 1.4.
- Better: model the rooms behind big windows roughly, with a ceiling, a back wall and a sofa, and light them with Area lights. Visible ceilings and furniture through the glass are what make it look real up close.
Use warm light, around 2,700 to 3,000 K. In 4.5 and later, set the light's Temperature directly. Warm windows against a cool blue sky is the whole effect, so don't make the sky warm too.
4. Facade and garden lights
- Wall lights by doors: small Spot lights pointing down so they wash the wall.
- Path and garden lights: low Point lights, dim and warm.
- Uplights on trees or a feature wall add depth to the background.
Decide these with the design, not just the render. A client will ask about every light they see.
5. Noise with many small lights
- Cycles' Light Tree (under Sampling > Lights, on by default) picks the lights that matter for each point, which helps scenes with dozens of small lights.
- Keep Denoise on. Dusk renders need more samples than day, because most of the light is indirect.
EEVEE (4.2 and later)
EEVEE is much faster for dusk scenes. Don't rely on emissive window planes to light the facade or the ground there. Use real Area and Spot lights for everything that should cast light, tick Raytracing in Render Properties, and keep the Emission planes only for the glow seen through the glass.
Or render it in one click
If you need the blue-hour image before the lighting is designed, Partilock, the Blender add-on we build (macOS), sends the camera view to an AI image model and returns the image in about a minute. A real 2K render, unretouched:
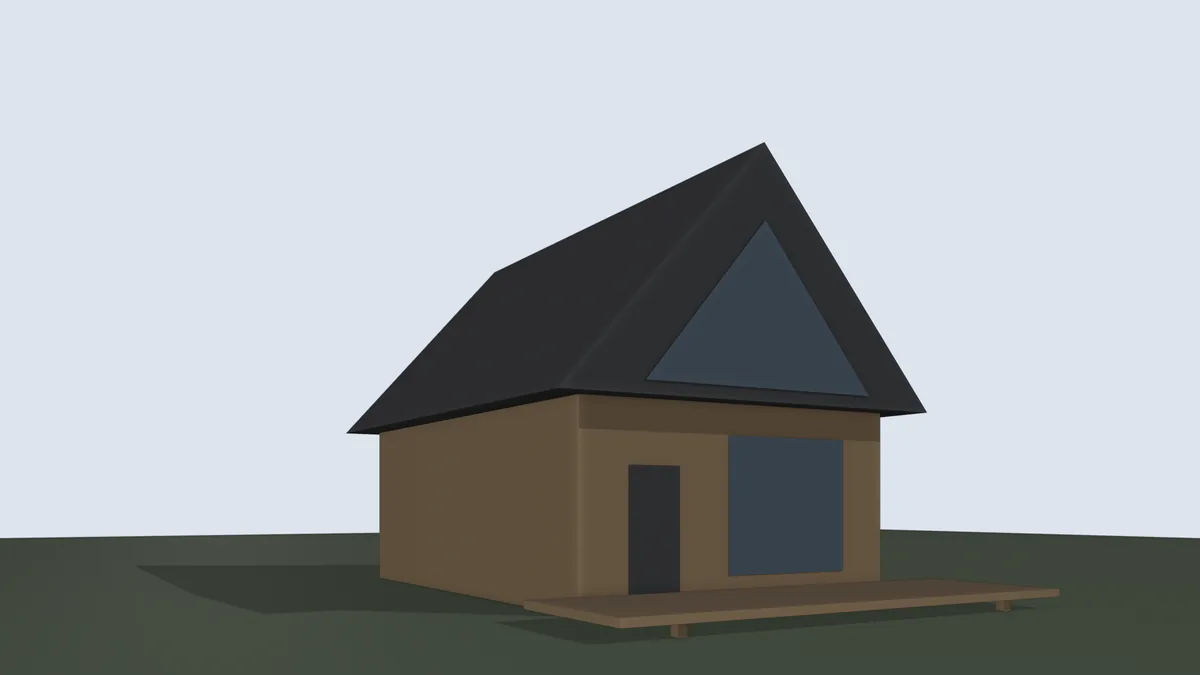
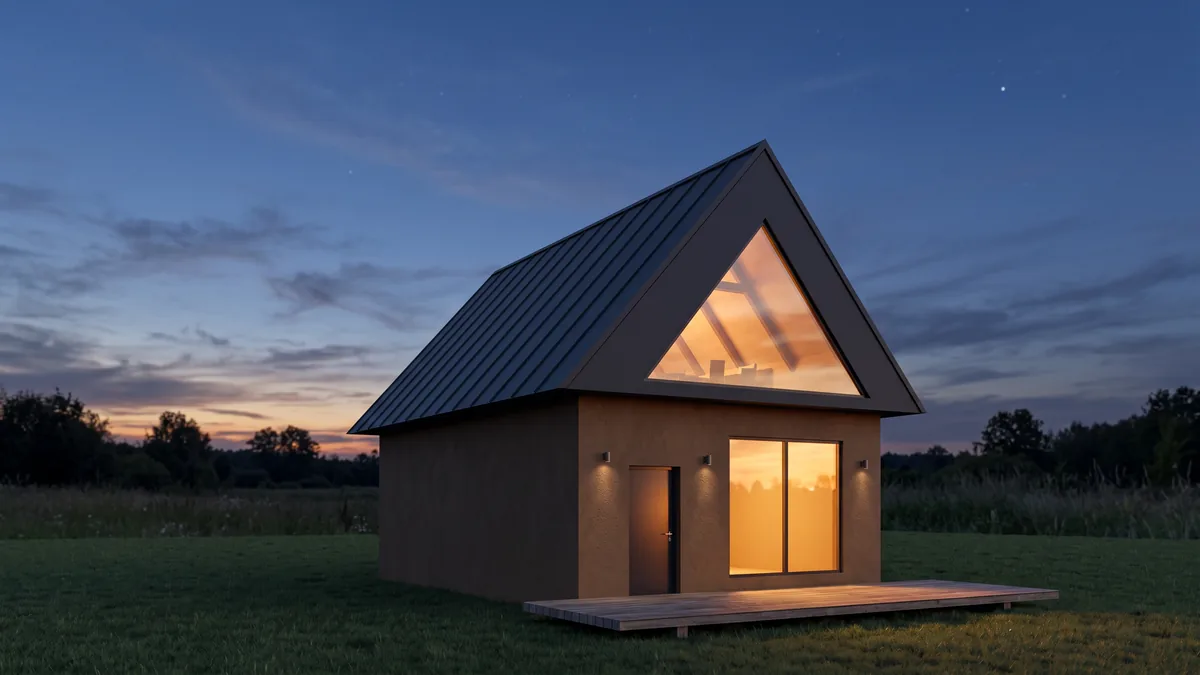
Note the three wall lights beside the door and the big window. They aren't in the model. Lights like these are the typical small addition at dusk, so decide whether the design has them before the image goes out.
It's an image, not geometry, and it can add small fittings, so check it before a client sees it. 2 free renders to try (1K, watermarked), then 2K from $9 for 18. Install guide, pricing.