Two-point perspective in Blender, with straight verticals
Point a camera up at a building and its walls lean in, like a tourist photo. Architectural photographers fix that with a shift lens, and Blender's camera has one built in. Two settings give you two-point perspective: a level camera, and Shift to frame the building.
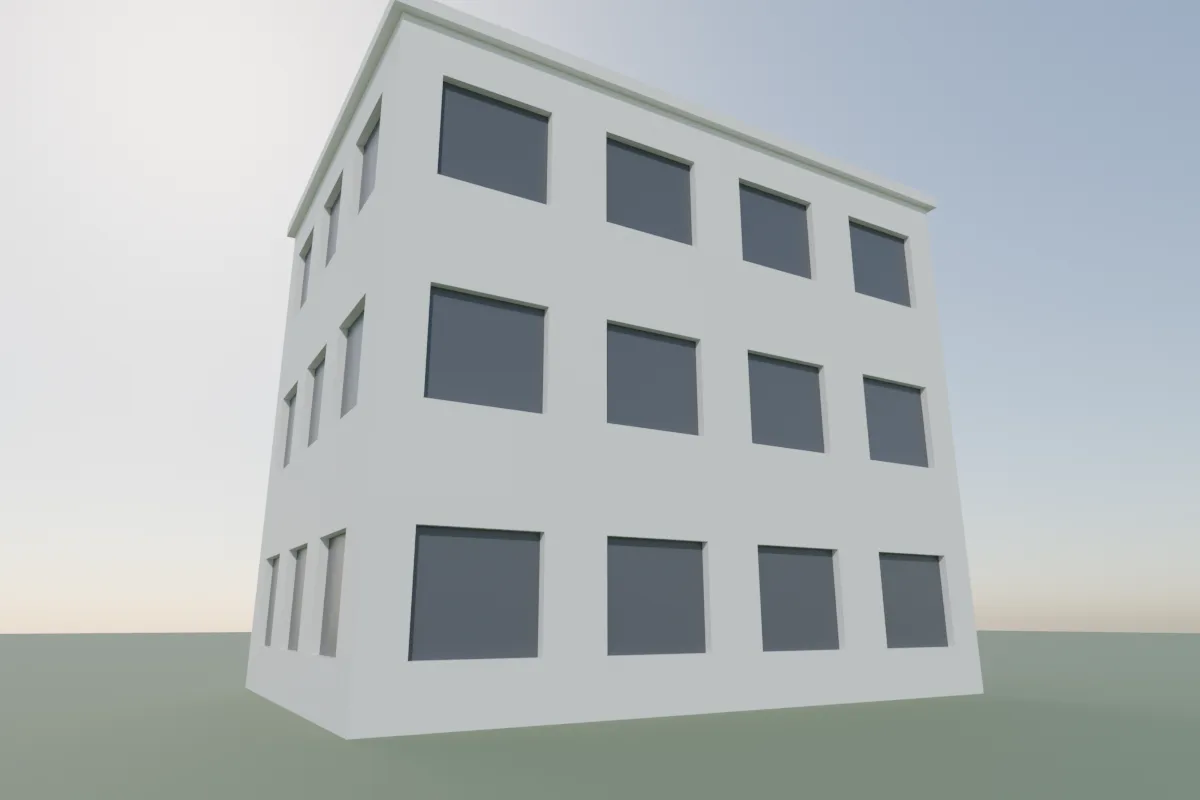
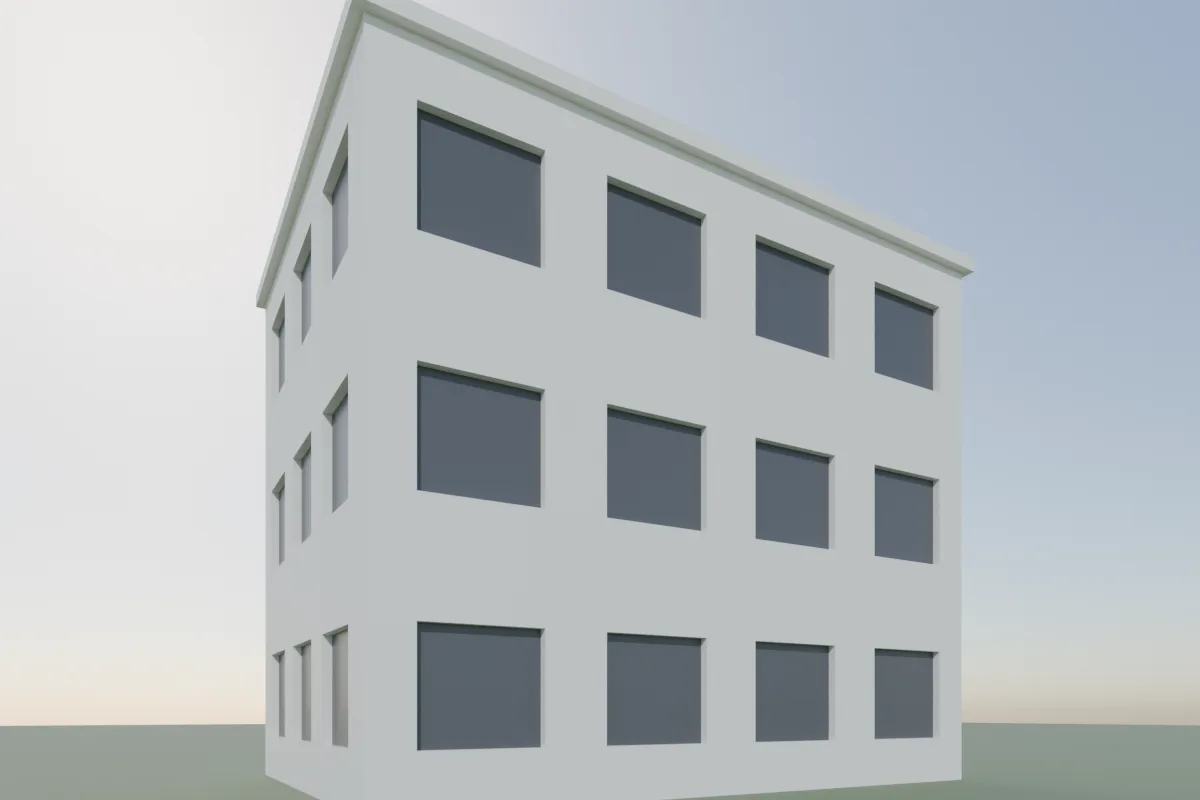
Our own test scene, same camera position at 1.6 m eye height and the same 24 mm lens. Only the rotation and the shift differ.
Set up the camera
- Put the camera at eye height. Select it, open the sidebar (N) Item tab and set Location Z to about 1.6 m above the ground.
- Make it level. Set Rotation X to 90° and Y to 0°. A camera with X at 90° looks at the horizon, so every vertical edge stays vertical. Use Z to turn it towards the building.
- Frame with Shift instead of tilting. In Camera Properties > Lens, raise Shift Y until the building sits in the frame. 0.2 to 0.3 is typical for a building a few storeys tall. Use Shift X to slide the frame sideways.
- Lock it. Click the padlocks next to Rotation X and Y in the sidebar, so moving the camera around can't tilt it again.
To start from a view you like, frame it in the viewport and press Ctrl Alt Numpad 0 (View > Align View > Align Active Camera to View). Then type X 90 and Y 0 again and fix the framing with Shift.
Which lens
Blender's default sensor is 36 mm wide, like full-frame photography, so photo focal lengths carry over. 24 to 35 mm reads as an architectural photo for exteriors. Small rooms often need something wider, around 16 to 20 mm. Very wide lenses stretch everything near the frame edges, and big Shift values show more of that stretch at the top. If the roofline looks pulled, step back and use a longer lens rather than more shift.
One-point perspective for interiors
For the classic symmetrical room shot, do the same with Rotation Z at an exact multiple of 90°, so the camera faces the back wall square on. Horizontal lines on that wall then stay horizontal too, and only the side walls recede.
Framing aids
- Camera Properties > Viewport Display > Composition Guides overlays thirds, centre lines or diagonals in the camera view.
- Set the final resolution and aspect in Output Properties before framing. Changing 16:9 to 4:3 afterwards changes the framing, including what a given Shift value does.
Why not fix it in Photoshop?
You can straighten converging verticals afterwards, but it crops the image and stretches the top. Lens shift gives the same result inside the render with no loss.
Or render it in one click
Once the camera is right, Partilock, the Blender add-on we build (macOS), sends the camera view to an AI image model and returns the image in about a minute. A real 2K render, unretouched:
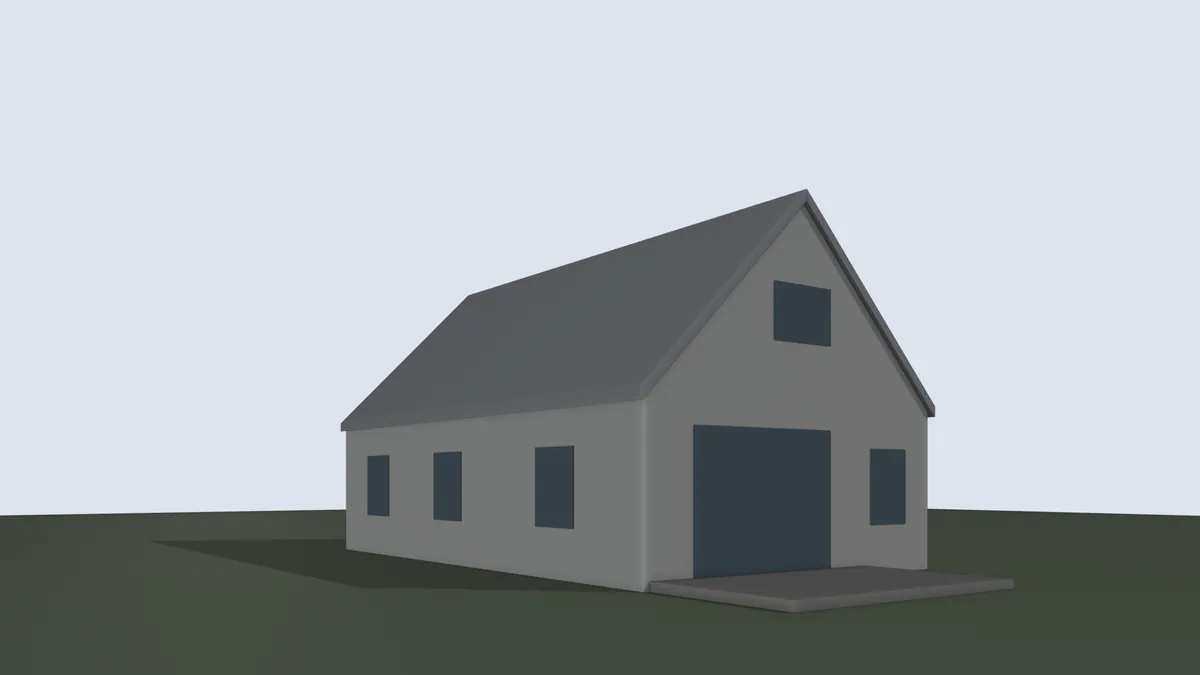
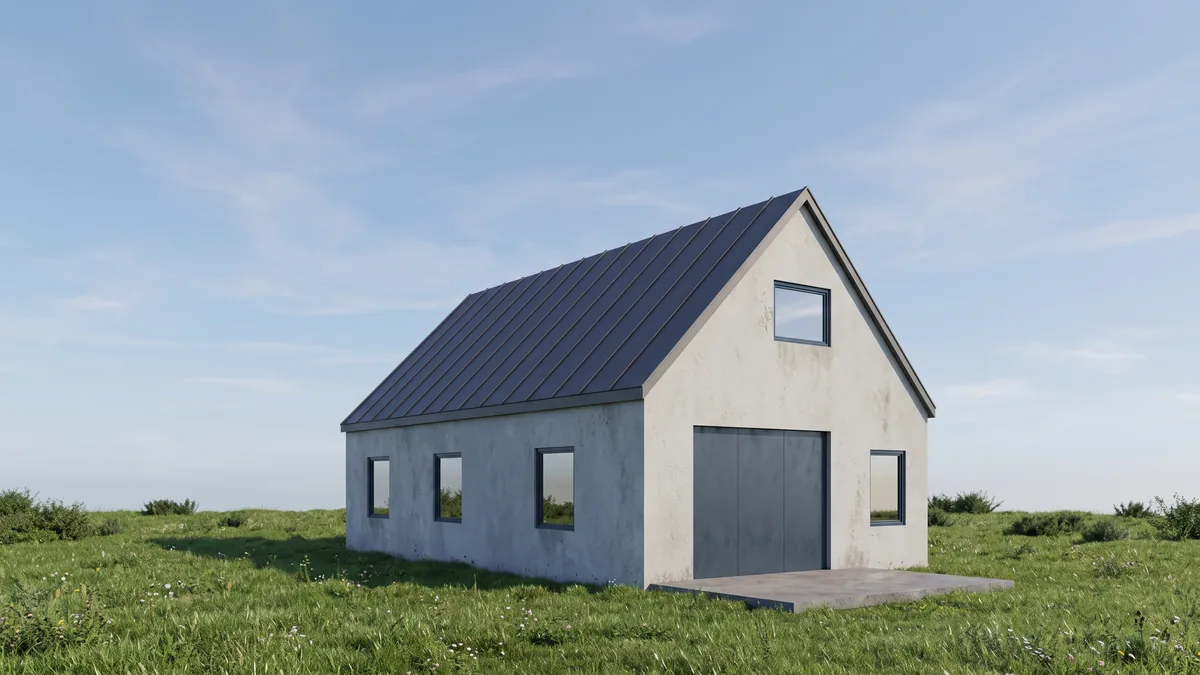
The model's camera is level, so the walls are vertical. Partilock keeps your camera, so they stay vertical in the render.
It's an image, not geometry, and it can add small fittings, so check it before a client sees it. 2 free renders to try (1K, watermarked), then 2K from $9 for 18. Install guide, pricing.