Fog and light rays in Blender, for interiors and exteriors
A beam of sun through a window or a little haze in the distance makes an archviz image feel like a place. In Blender both come from a volume: a box filled with thin fog that scatters light. The setup is short. Getting the beams to actually show depends mostly on where the sun is.
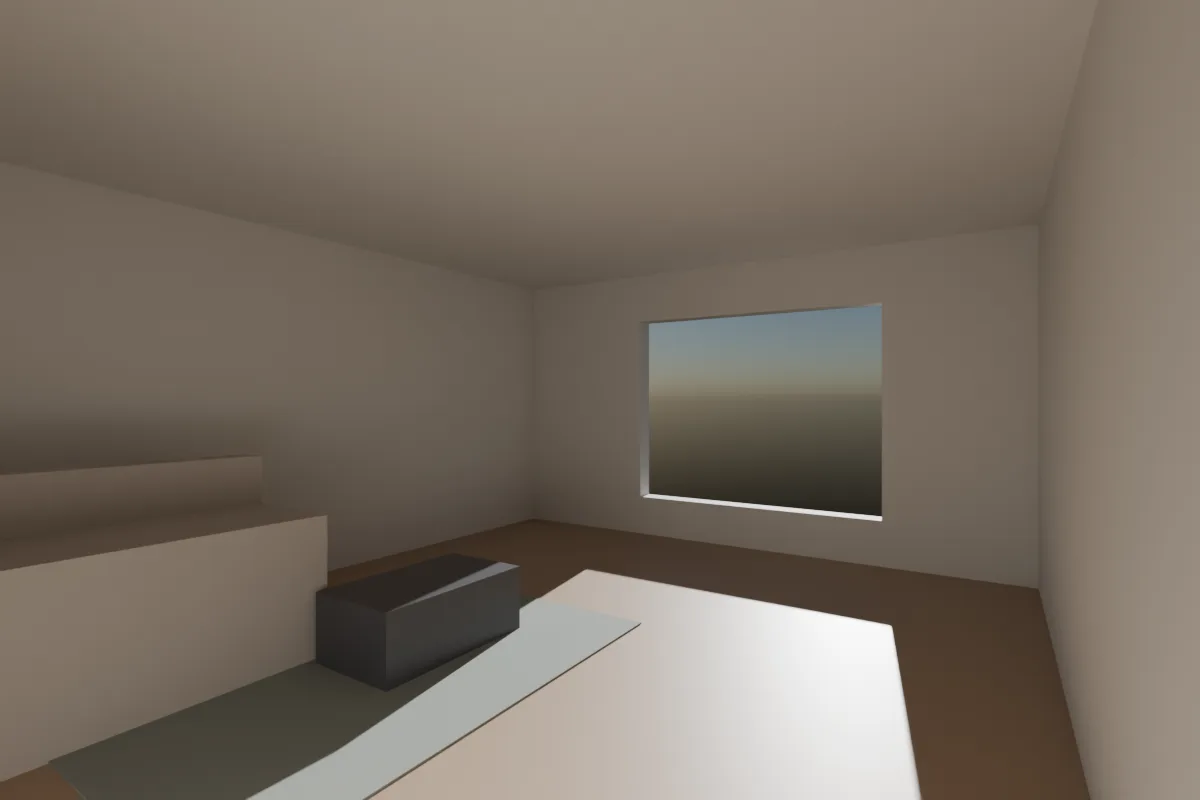
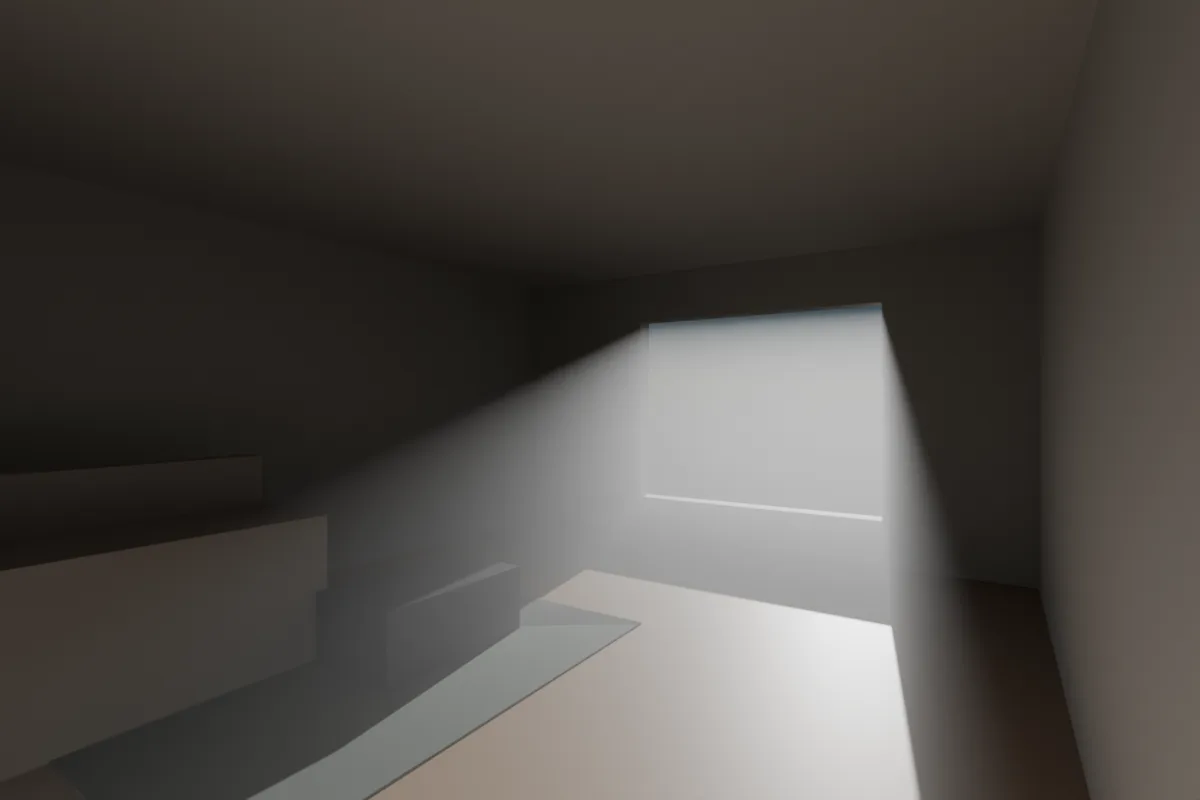
Our own test scene in Blender 4.5, Cycles, 256 samples with denoising, AgX. A Sun light at 15° elevation and strength 15, pointing into the room and towards the camera. Same camera and exposure.
1. Fill the space with a volume cube
- Add a cube and scale it to fill the room from wall to wall, or the part of the site that should be hazy. Wherever the box ends inside the view, the fog ends in a hard line.
- Give it a new material. In the Shader Editor, delete the Principled BSDF and connect a Principled Volume to the Volume input of the Material Output, not Surface.
- Set Density low. Our room used 0.15 for a visible indoor haze. For a large exterior, start near 0.01 and go up. Density is per metre, so the same value looks thicker in a bigger space.
- Set Anisotropy to 0.5 to 0.7. Positive values scatter light forward, which is what makes beams glow when you look towards the light.
Fog also dims the room and veils the view through the window, as in our test, so expect to raise the exposure or the sun a little. A cube is easier to control than a volume in the World, and cheaper to render. In EEVEE from 4.2, a World volume also dims the sun and the sky itself, which often isn't what you want.
2. Aim the sun so the beams show
This is the part most setups miss. In our test, with the sun crossing the room sideways, the fog only made the room greyer and no beam showed. Turning the sun so it came in towards the camera made the beam appear, with the same fog.
- Point the camera roughly towards the window and the sun. With forward scattering, beams are brightest when you look along them.
- Use a low sun (10 to 30°) so the beam travels a long way through the room before it hits the floor.
- Keep the sun's Angle small (under 1°) for crisp beam edges. Ours was 0.6°.
- Keep the rest of the room fairly dark. The beam is a small brightness difference, and lots of fill light hides it.
3. Cycles settings, and what changed in 5.0
- Blender 5.0 and later render volumes with a new unbiased method by default. There's no step size to tune. The 5.0 release notes say speed and noise can differ from older versions. Ticking Render Properties > Volumes > Biased brings back the old method and its step settings.
- Blender 4.2 to 4.5 use ray marching. Render Properties > Volumes > Step Rate trades detail for speed. For a uniform fog with no texture, a higher step rate costs little.
- Volumes add noise. Expect to need more samples than the same room without fog, and keep Denoise on.
- Light Paths > Max Bounces > Volume is 0 by default, which means single scattering. That's right for thin haze.
4. EEVEE
The same volume cube works in EEVEE and renders far faster.
- Render Properties > Volumes > Resolution is 1:8 by default. 1:4 or 1:2 gives sharper beams and uses more video memory. Steps (default 64) adds precision along the view.
- Each light has a Volume Scatter factor in its properties (default 1). Raise it on the sun to strengthen beams without brightening the room.
- Beams need the light to cast shadows, so keep Shadow on for the sun.
5. Cheap distance haze for exteriors
For a soft fade into the background without a volume, use a mist pass. Tick View Layer > Passes > Data > Mist, set World > Mist Pass > Start and Depth, and blend the image towards a sky colour with the Mist pass in the Compositor. It renders at no extra cost, though the haze won't glow around lights the way a volume does.
Or render it in one click
If you want the mood before the volume setup, Partilock, the Blender add-on we build (macOS), sends the camera view to an AI image model and returns the image in about a minute. A real 2K render, unretouched:
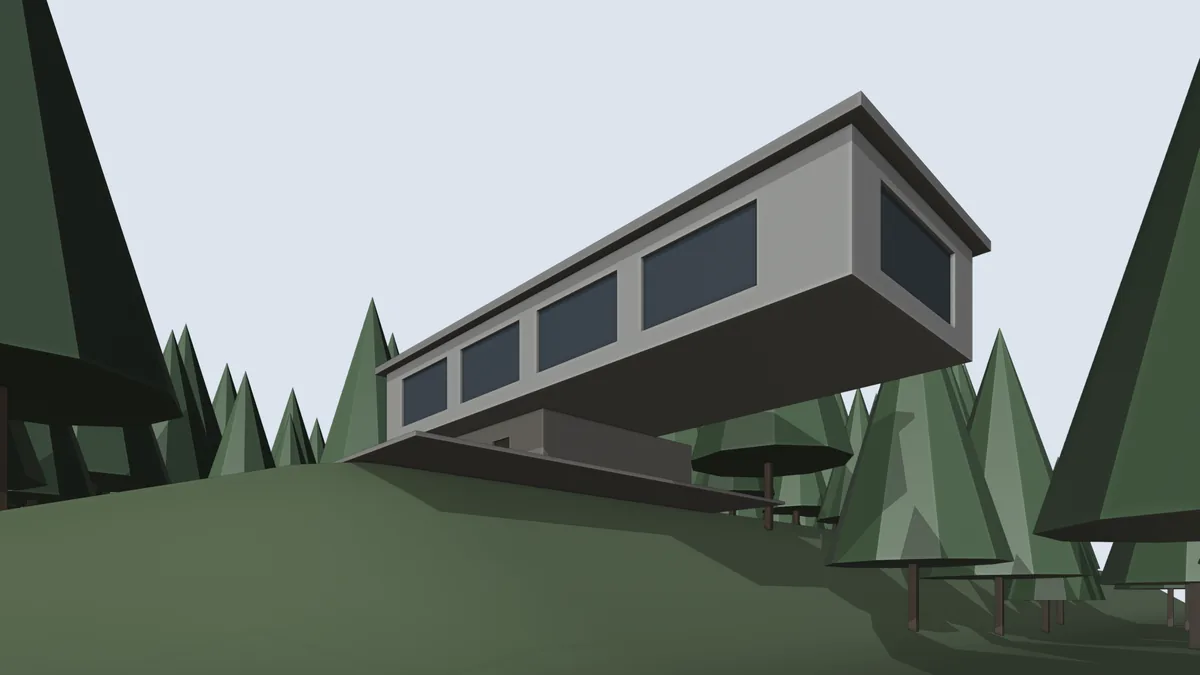
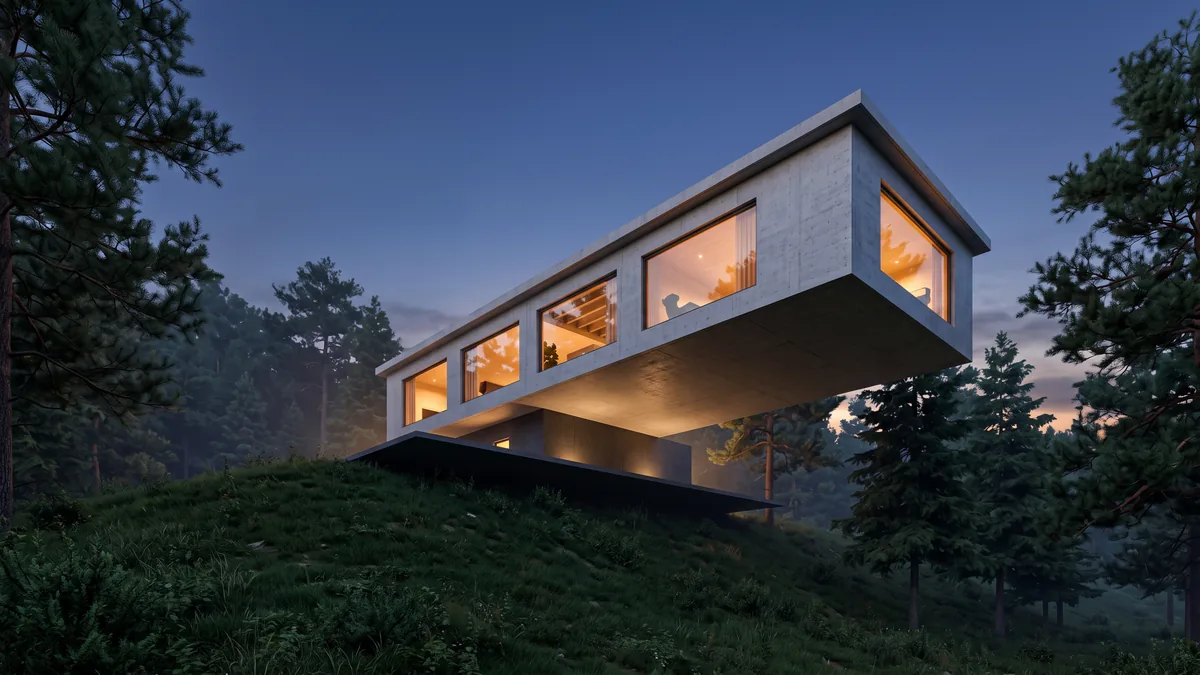
The model was a plain box on a slope among low-poly trees. The render added the haze between the pines on its own, plus real trees, lit rooms and a glow under the cantilever. The building outline and camera held.
It's an image, not geometry, and it can add small fittings, so check it before a client sees it. 2 free renders to try (1K, watermarked), then 2K from $9 for 18. Install guide, pricing.
Next up, dusk and night lighting, interior lighting, or HDRI lighting.