Concrete material in Blender
Plain grey looks like plastic. Concrete reads as concrete because of small things: formwork joints, tie holes, uneven roughness. A scanned texture brings all of them. The work is in sizing it to real panels and wrapping it around a building without seams.
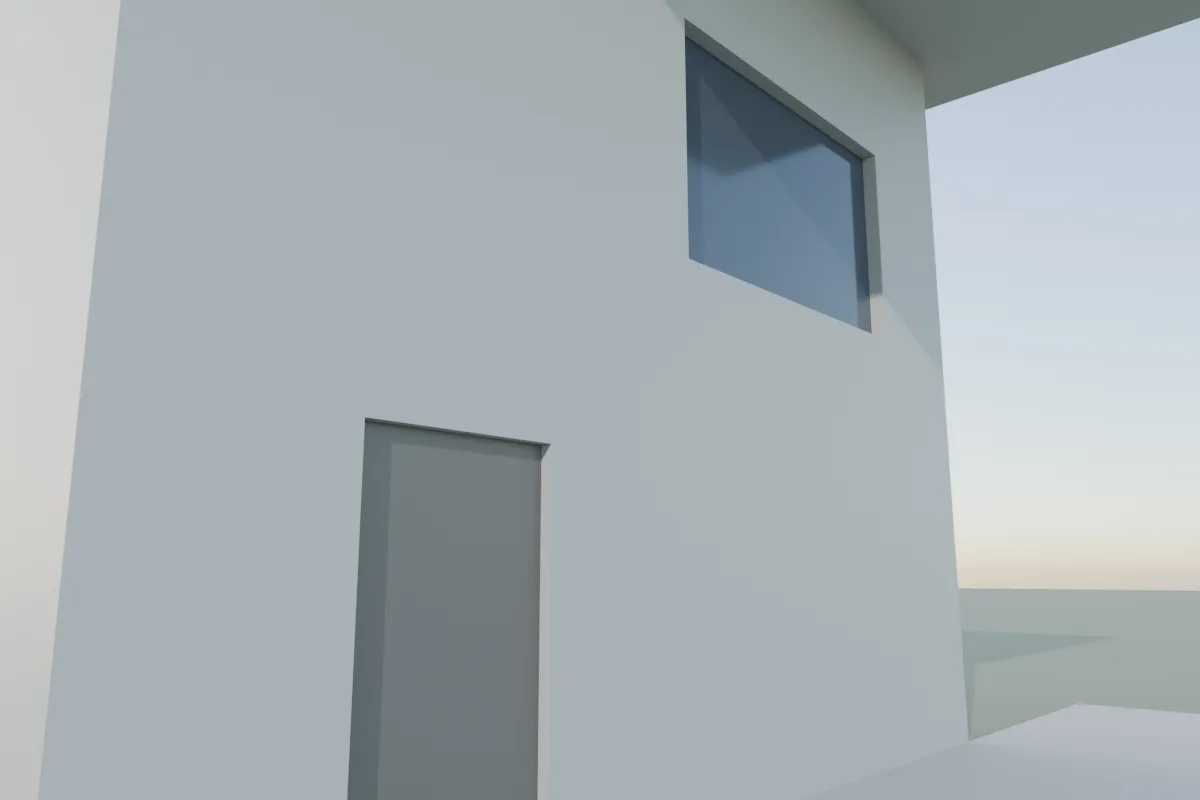
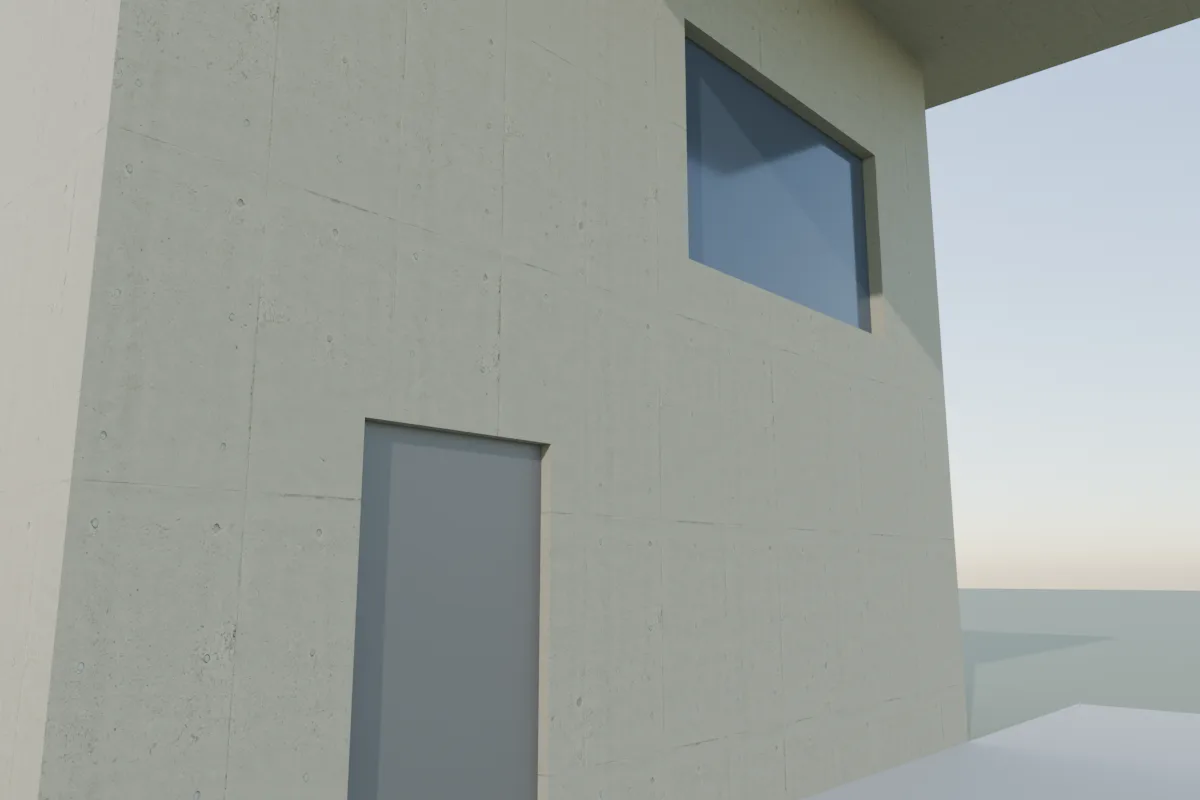
Our own test in Blender 4.5, Cycles, 128 samples. Right: Poly Haven's free Concrete Wall 008 (CC0, 2.71 m square) with colour, roughness and normal maps, Object coordinates and Box projection. Left: a single grey with roughness 0.5.
1. Pick a texture set
- Poly Haven and ambientCG have free concrete under CC0. For a facade, look for "wall" or "panels" sets with joints and tie holes. Floor sets are often polished or worn and look wrong on a wall.
- Download colour, roughness and the OpenGL normal map. Note the real-world size on the texture's page.
2. Build the material
- Select the wall object, open the Shading workspace and click New to add a material.
- Enable Node Wrangler: in Edit > Preferences > Add-ons, search for it and tick its checkbox. Select the Principled BSDF, press Ctrl Shift T and pick all the maps. It connects colour, roughness and the normal map, and sets the roughness and normal images to Non-Color.
- Reconnect the Mapping node's Vector from the Texture Coordinate node's UV output to its Object output, and set the Mapping Scale to 1 divided by the texture size. For a 2.71 m texture that's 0.369. Apply the object's scale first (Ctrl A > Scale).
- On every Image Texture node, change the projection from Flat to Box and set Blend to about 0.2. Box projects the texture from six directions, so all four facades and the soffit get it without unwrapping.
Size matters more than resolution. Joints at the real formwork spacing read as concrete, while joints every 30 cm read as tiles. If your design has a specific panel layout, match the texture's joints to it.
3. Procedural concrete
No texture download, never repeats, and good enough from a distance:
- Start with a fresh material, or disconnect the image textures first. Add a Texture Coordinate node and a Noise Texture, and plug Object into the Noise Texture's Vector. Give the noise Scale about 2 and Detail 8. Feed its Fac into a Color Ramp with two close greys, and the ramp into Base Color.
- Add a second Noise Texture with a much higher Scale, about 150, into a Bump node's Height, with Strength around 0.15. Connect the Bump's Normal to the Principled BSDF's Normal.
- Set Roughness to about 0.8.
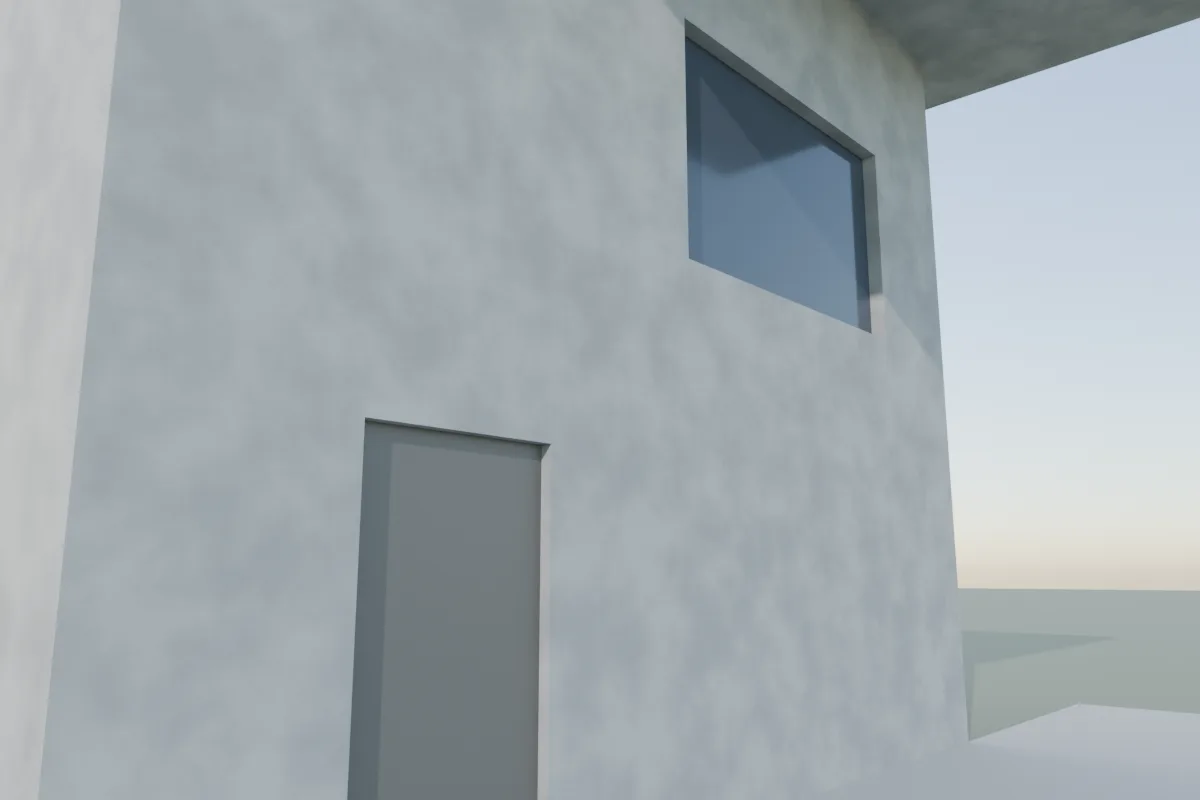
Same scene with the procedural material above. Without joints and holes it reads more like render or plaster than cast concrete. Formwork lines can be added with a Brick Texture or Wave Texture, but that takes tuning.
4. Details that sell it
- Light: low sun along a wall shows the texture best. Face-on light flattens it.
- Normal strength: on the Normal Map node, values below 1 suit smooth architectural concrete. Push it only for rough walls.
- Displacement: you rarely need real displacement for a flat wall. Materials default to bump only, which is fast and enough for joints and holes.
- Edges: perfectly sharp box corners give the CG look away. A small Bevel modifier (1 to 2 cm) catches a highlight on each edge.
Or render it in one click
If the client only needs to see the concrete mood, Partilock, the Blender add-on we build (macOS), sends the camera view to an AI image model and returns the image in about a minute. A real 2K render, unretouched:
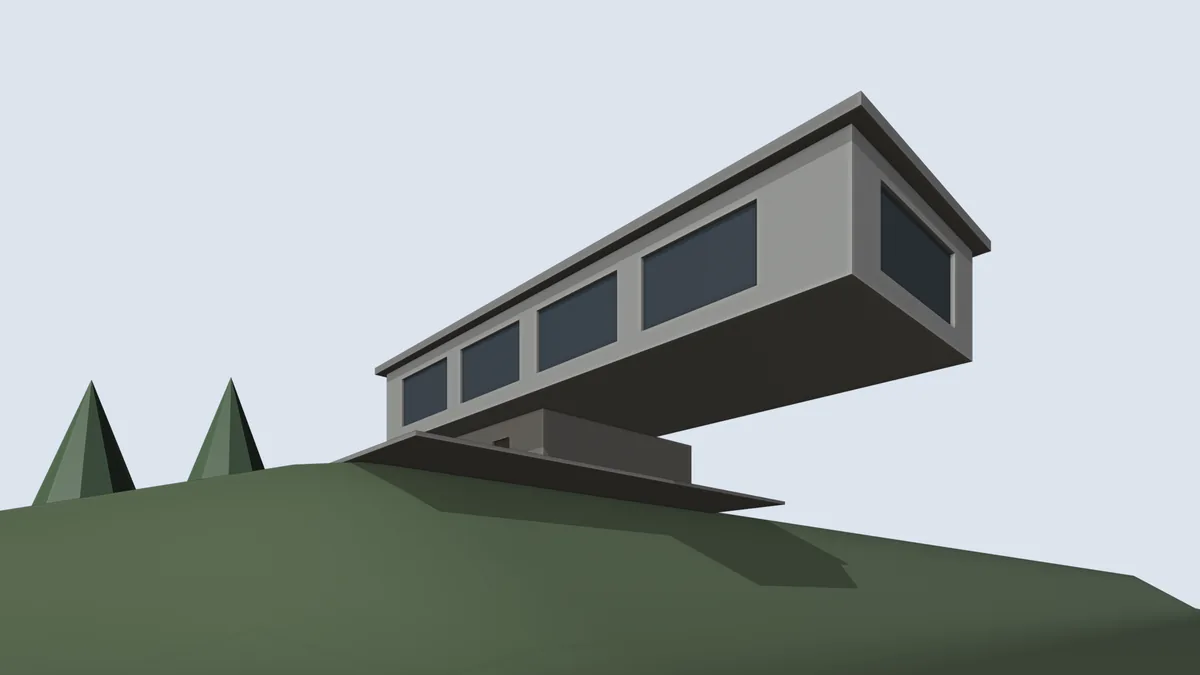
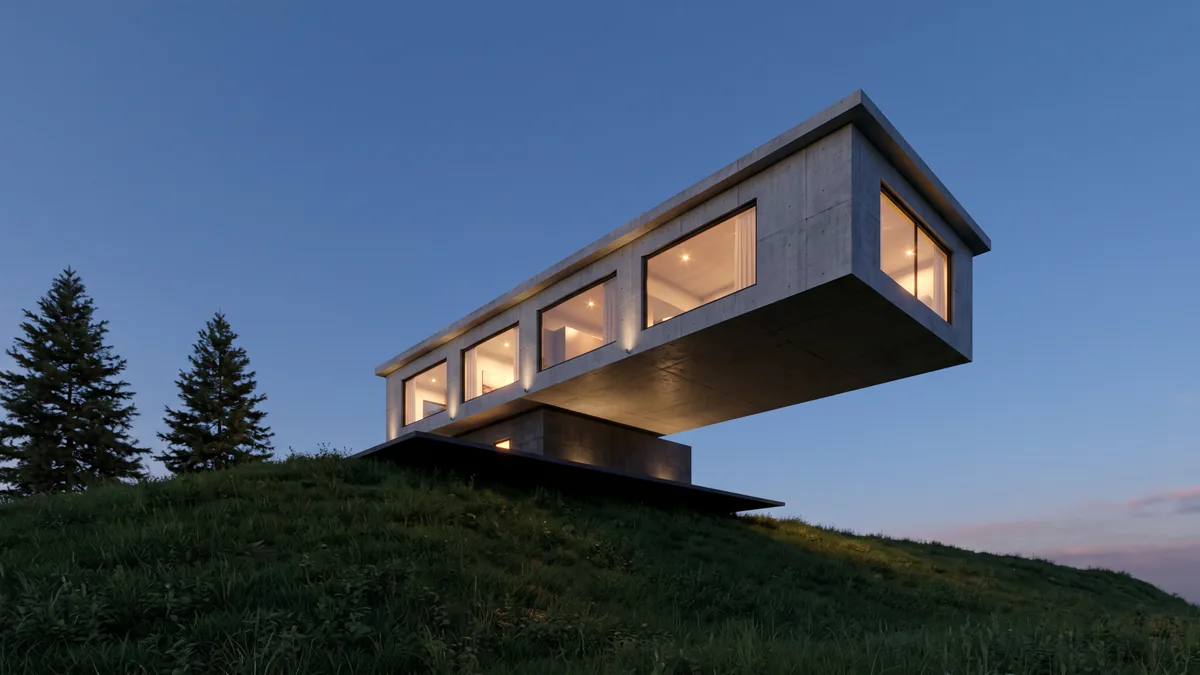
The model was grey boxes with dark flat windows on a smooth green hill. The render gave the upper box board-formed concrete with tie holes, lit the rooms, added curtains, uplights along the base of the facade, grass and pines, and a small lit opening in the lower box that the model doesn't have.
It's an image, not geometry, and it can add details that aren't in the model, so check it before a client sees it. 2 free renders to try (1K, watermarked), then 2K from $9 for 18. Install guide, pricing.
Next up, wood in Blender, HDRI lighting, or dusk lighting for exteriors.