AutoCAD to Blender: DWG plans and 3D models
Blender doesn't open DWG files, and the DXF importer is no longer built in. Both have simple fixes: save a DXF, install the importer as a free extension, and set one number on import. From there, a clean plan becomes walls in a few minutes. We tested this on a simple DXF we wrote ourselves.
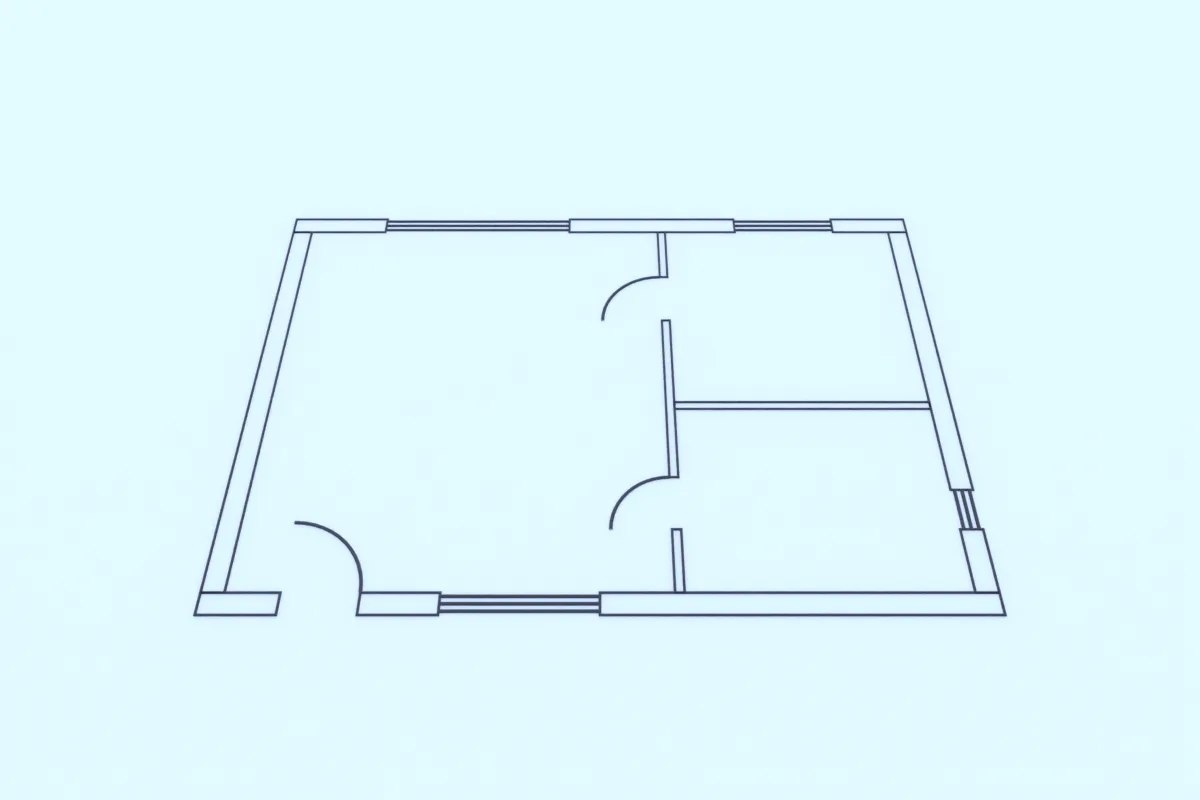
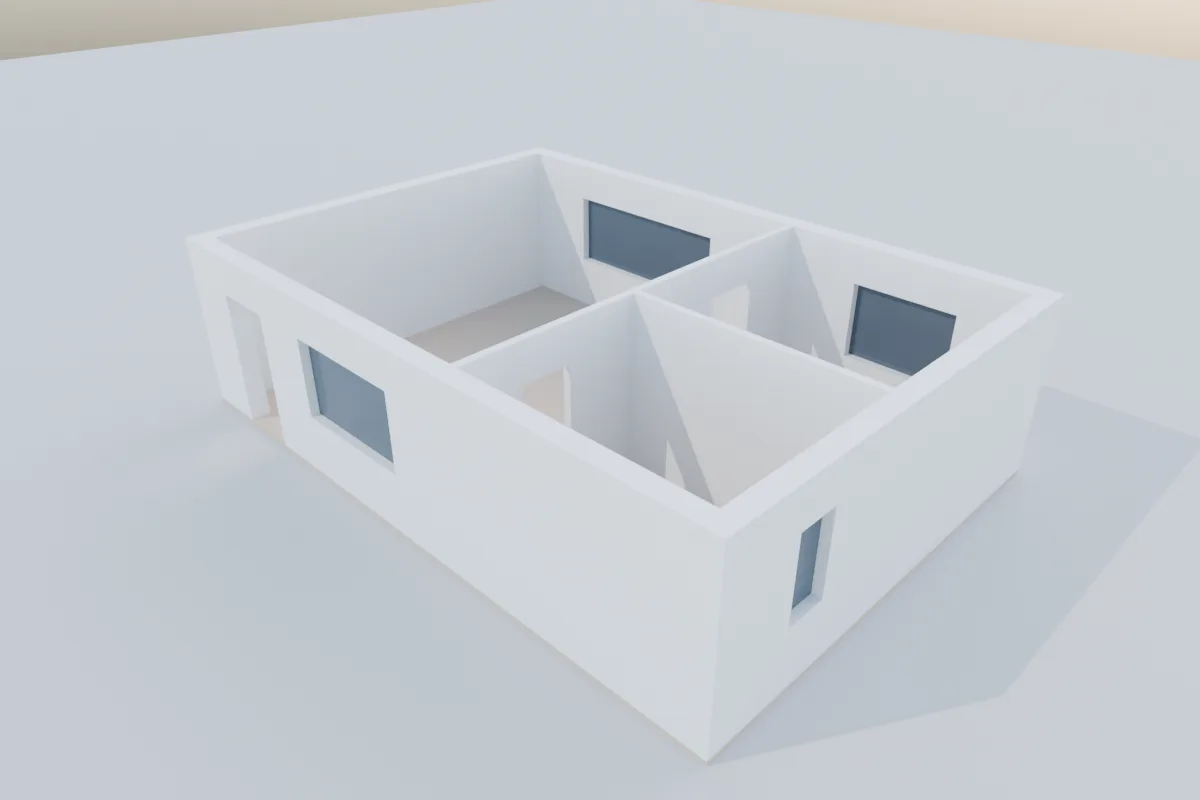
Our own test in Blender 4.5 with the Import AutoCAD DXF Format extension 0.9.10. The DXF was one we wrote for the test (R12, millimetres, layers WALLS, WINDOWS and DOORS), not an export from AutoCAD. The lines on the left were given a small bevel so they show in a render.
1. Save the plan as DXF
- In AutoCAD, copy the plan into a clean drawing with only what you want in 3D: walls, windows, doors. Hatches, dimensions, text and furniture blocks only add clutter after import.
- Use Save As and pick a DXF file type. The save dialog lets you choose the DXF version. If one version imports badly, try an older one.
- Note the drawing units: millimetres, centimetres, metres or inches. You'll need them on import.
No AutoCAD at hand? The ODA File Converter converts DWG to DXF on Windows, macOS and Linux. ODA says it's free for non-commercial use only, unless you're an ODA member. For paid work, any CAD program you're licensed for that saves DXF, or asking whoever sent the DWG for a DXF, is the safer route.
2. Install the DXF importer
The DXF importer shipped with Blender until 4.1. From 4.2 it's an extension:
- Open Edit > Preferences > Get Extensions and search for "DXF".
- Install Import AutoCAD DXF Format (.dxf). Its page says Blender 4.2 and newer, and that it is offered as is, with limited support.
- It adds File > Import > AutoCAD DXF (.dxf).
3. Import at the right scale
The importer assumes the DXF is in metres. A plan drawn in millimetres comes in 1,000 times too big: a 10 m flat becomes 10 km wide, far outside the view.
- In the import options, under Geo Referencing (on by default), set Unit Scale to 0.001 for millimetres, 0.01 for centimetres or 0.0254 for inches. In our test, 0.001 brought the 10,000 mm plan in exactly 10 m wide.
- Leave Merged Objects on with Merge set to By Layer (the defaults). Our three layers came in as three curve objects named after the layers.
- Untick Import Text if the drawing has labels you don't need.
- If the plan sits far from the drawing's origin, tick Center geometry to scene. Geometry thousands of metres from the origin shows jittery edges and shadows.
4. Turn wall outlines into walls
First check the walls layer: is each wall piece a closed shape? Zoom in on a wall end. If a line runs across the end joining the two faces, it's closed. If the two lines just stop, it isn't. Many CAD plans draw closed walls, and then this works:
- Select the walls object and choose Object > Convert > Mesh.
- Press Tab, select all, and run M > By Distance to weld points that sit on top of each other.
- Press F. Each closed outline becomes a face. In our test, 13 wall outlines became 13 faces.
- Select all and press E, Z, then type the height, for example 2.7.
- The gaps for doors and windows are now full-height openings. Fill above doors and above and below windows with boxes snapped to the wall ends. With many openings it's easier to redraw those walls as continuous and cut the openings with a Boolean, as in floor plan to 3D.
If the walls are loose lines that don't close, F can't fill them. Then trace over the imported lines with snapping on (Shift Tab, Snap Target Vertex) using the centre-line method in floor plan to 3D. Tracing a messy plan is often faster than repairing its lines.
5. AutoCAD 3D models
- 3D solids don't come through DXF. The importer turns 3DFACE, POLYFACE and MESH entities into meshes, but 3D solids are stored as ACIS data, which it can only write out to separate .sat files that Blender can't read.
- STL (full AutoCAD, not LT): STLOUT, or Export with the Lithography (*.stl) type, writes 3D solids and watertight meshes and drops everything else. The FACETRES setting controls how finely curves are cut into triangles. Expect no materials. Blender imports it with File > Import > STL.
- FBX: the FBXEXPORT command is gone. Autodesk lists it as obsolete from AutoCAD 2019. Current AutoCAD's export list has no FBX, OBJ or 3DS.
- Speckle sends AutoCAD 2023 to 2027 models (Windows only) to its Blender connector (Blender 4.2 to 5.1, Windows and macOS). Solids arrive as meshes with render material colours. Image textures don't transfer.
Whatever the route, rebuild materials in Blender. The cleanup checklist on the Revit page (scale, origin, normals, UVs) applies here too.
What we tested and what we didn't
We ran the DXF importer on Blender 4.5 with a DXF we wrote ourselves: unit scale, merge by layer, convert, fill and extrude all worked as described. We didn't run AutoCAD, so real AutoCAD exports (hatches, blocks, splines, newer DXF versions) and the STL route are untested, and so is Blender 5.x.
Or render it in one click
When the plan is in 3D and the client wants to see the mood, Partilock, the Blender add-on we build (macOS), sends the camera view to an AI image model and returns the image in about a minute. A real 2K render, unretouched:
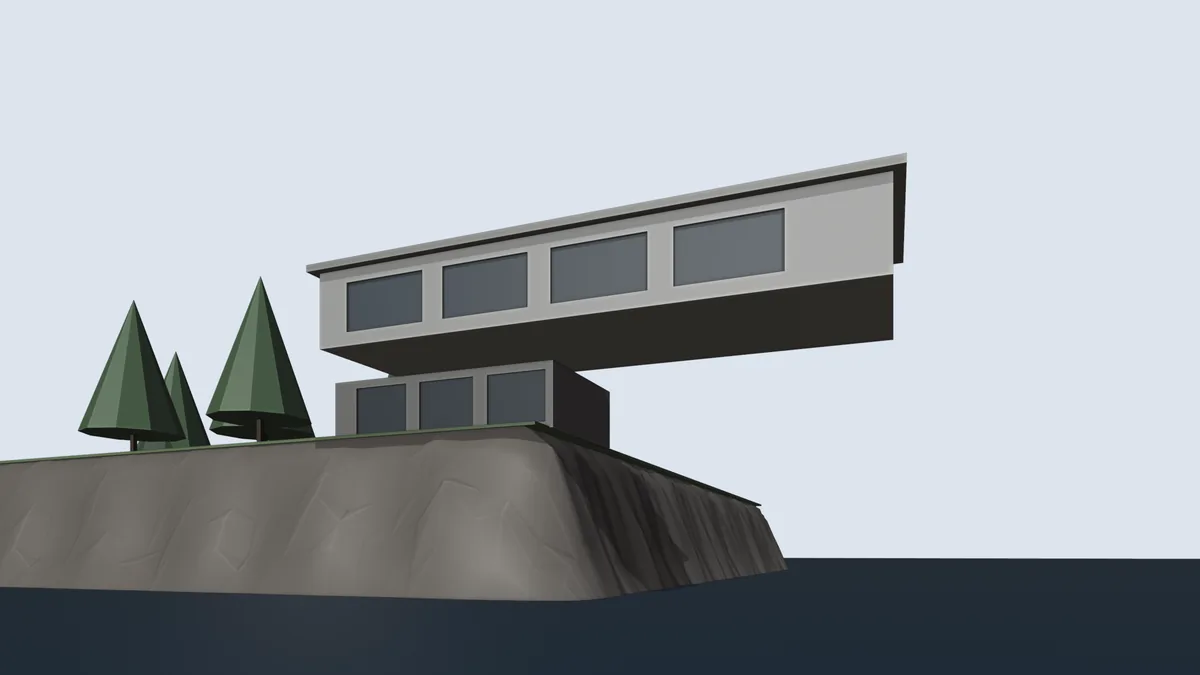

The model was grey and dark boxes with flat windows on low-poly rock above a flat dark sea. The render gave the walls a concrete texture, lit the rooms, added curtains, uplights under the cantilever, detailed rock, real pines and clouds over the water. It also put a person in a lower window, which nobody modelled.
It's an image, not geometry, and it can add details that aren't in the model, so check it before a client sees it. 2 free renders to try (1K, watermarked), then 2K from $9 for 18. Install guide, pricing.
Next up, floor plan to 3D, Revit to Blender, or ArchiCAD to Blender.